Woodblock printing at Washi no Sato
The print making process has equally been new and exciting as well as tedious and stressful, mainly due to our small timeframe with the Senseis to create our final works! For a bit of background context, Japanese woodblock printing is one of the traditional art practices which has continued to exist since the Edo period (1603-1868), often used in literature and Japanese art forms entertain Japan’s increasingly educated population. Woodblock printing is also an art practice which has been preserved and continued to taught by all children in schools, thus enabling the art practice to remain recognised and respected by Japan’s current population.
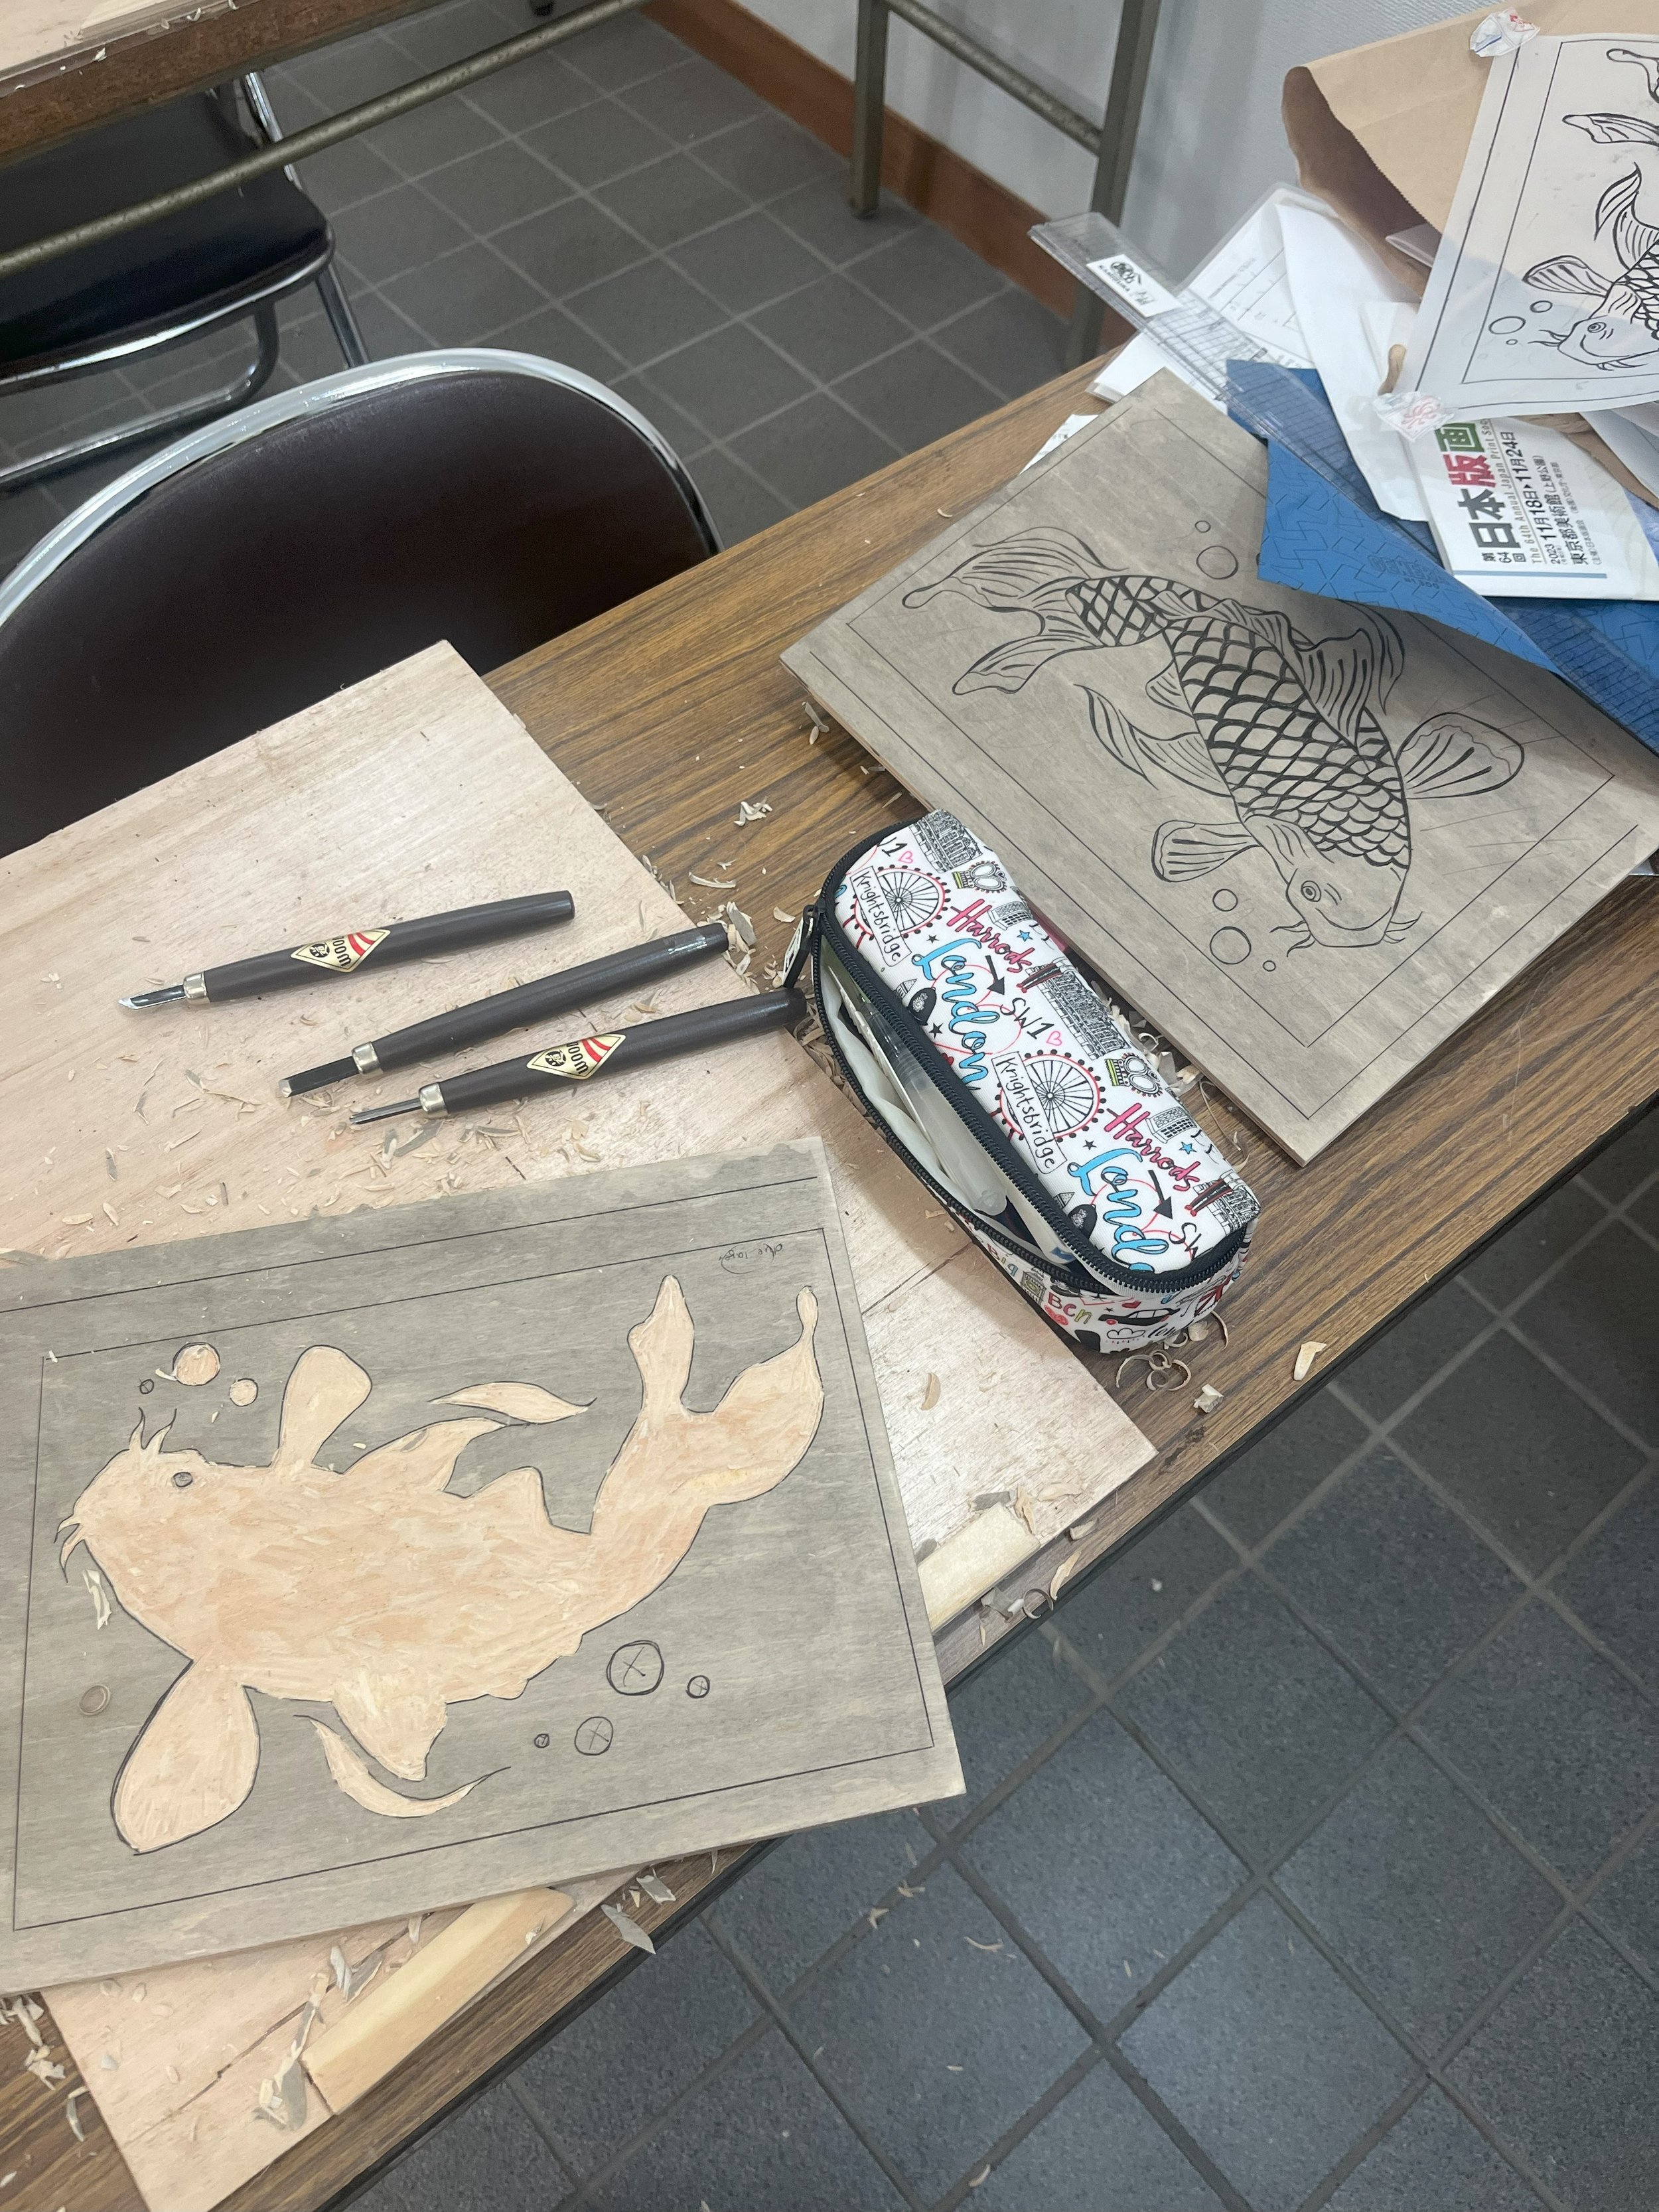
There were many steps and materials involved in making these prints, so we were given a little set of materials (which we got to keep!) to get started, including some school-grade wood carving tools, booklets, tracing paper, the woodblocks and tracing guides for our designs (as shown below).
All of the materials that we needed to create our prints were given to us initially, as well as an introduction to the woodblock printing workshop!
The first step in the process was to draw out our sketch. I opted for a koi fish, mainly due to how many fish-related things I have spotted throughout my Japan trip, and how beautiful they were in the pond in front of our accommodation in Washi no Sato. They’re also a symbol of good luck and fortune as well, so I thought it would reflect my experiences of the trip so far!
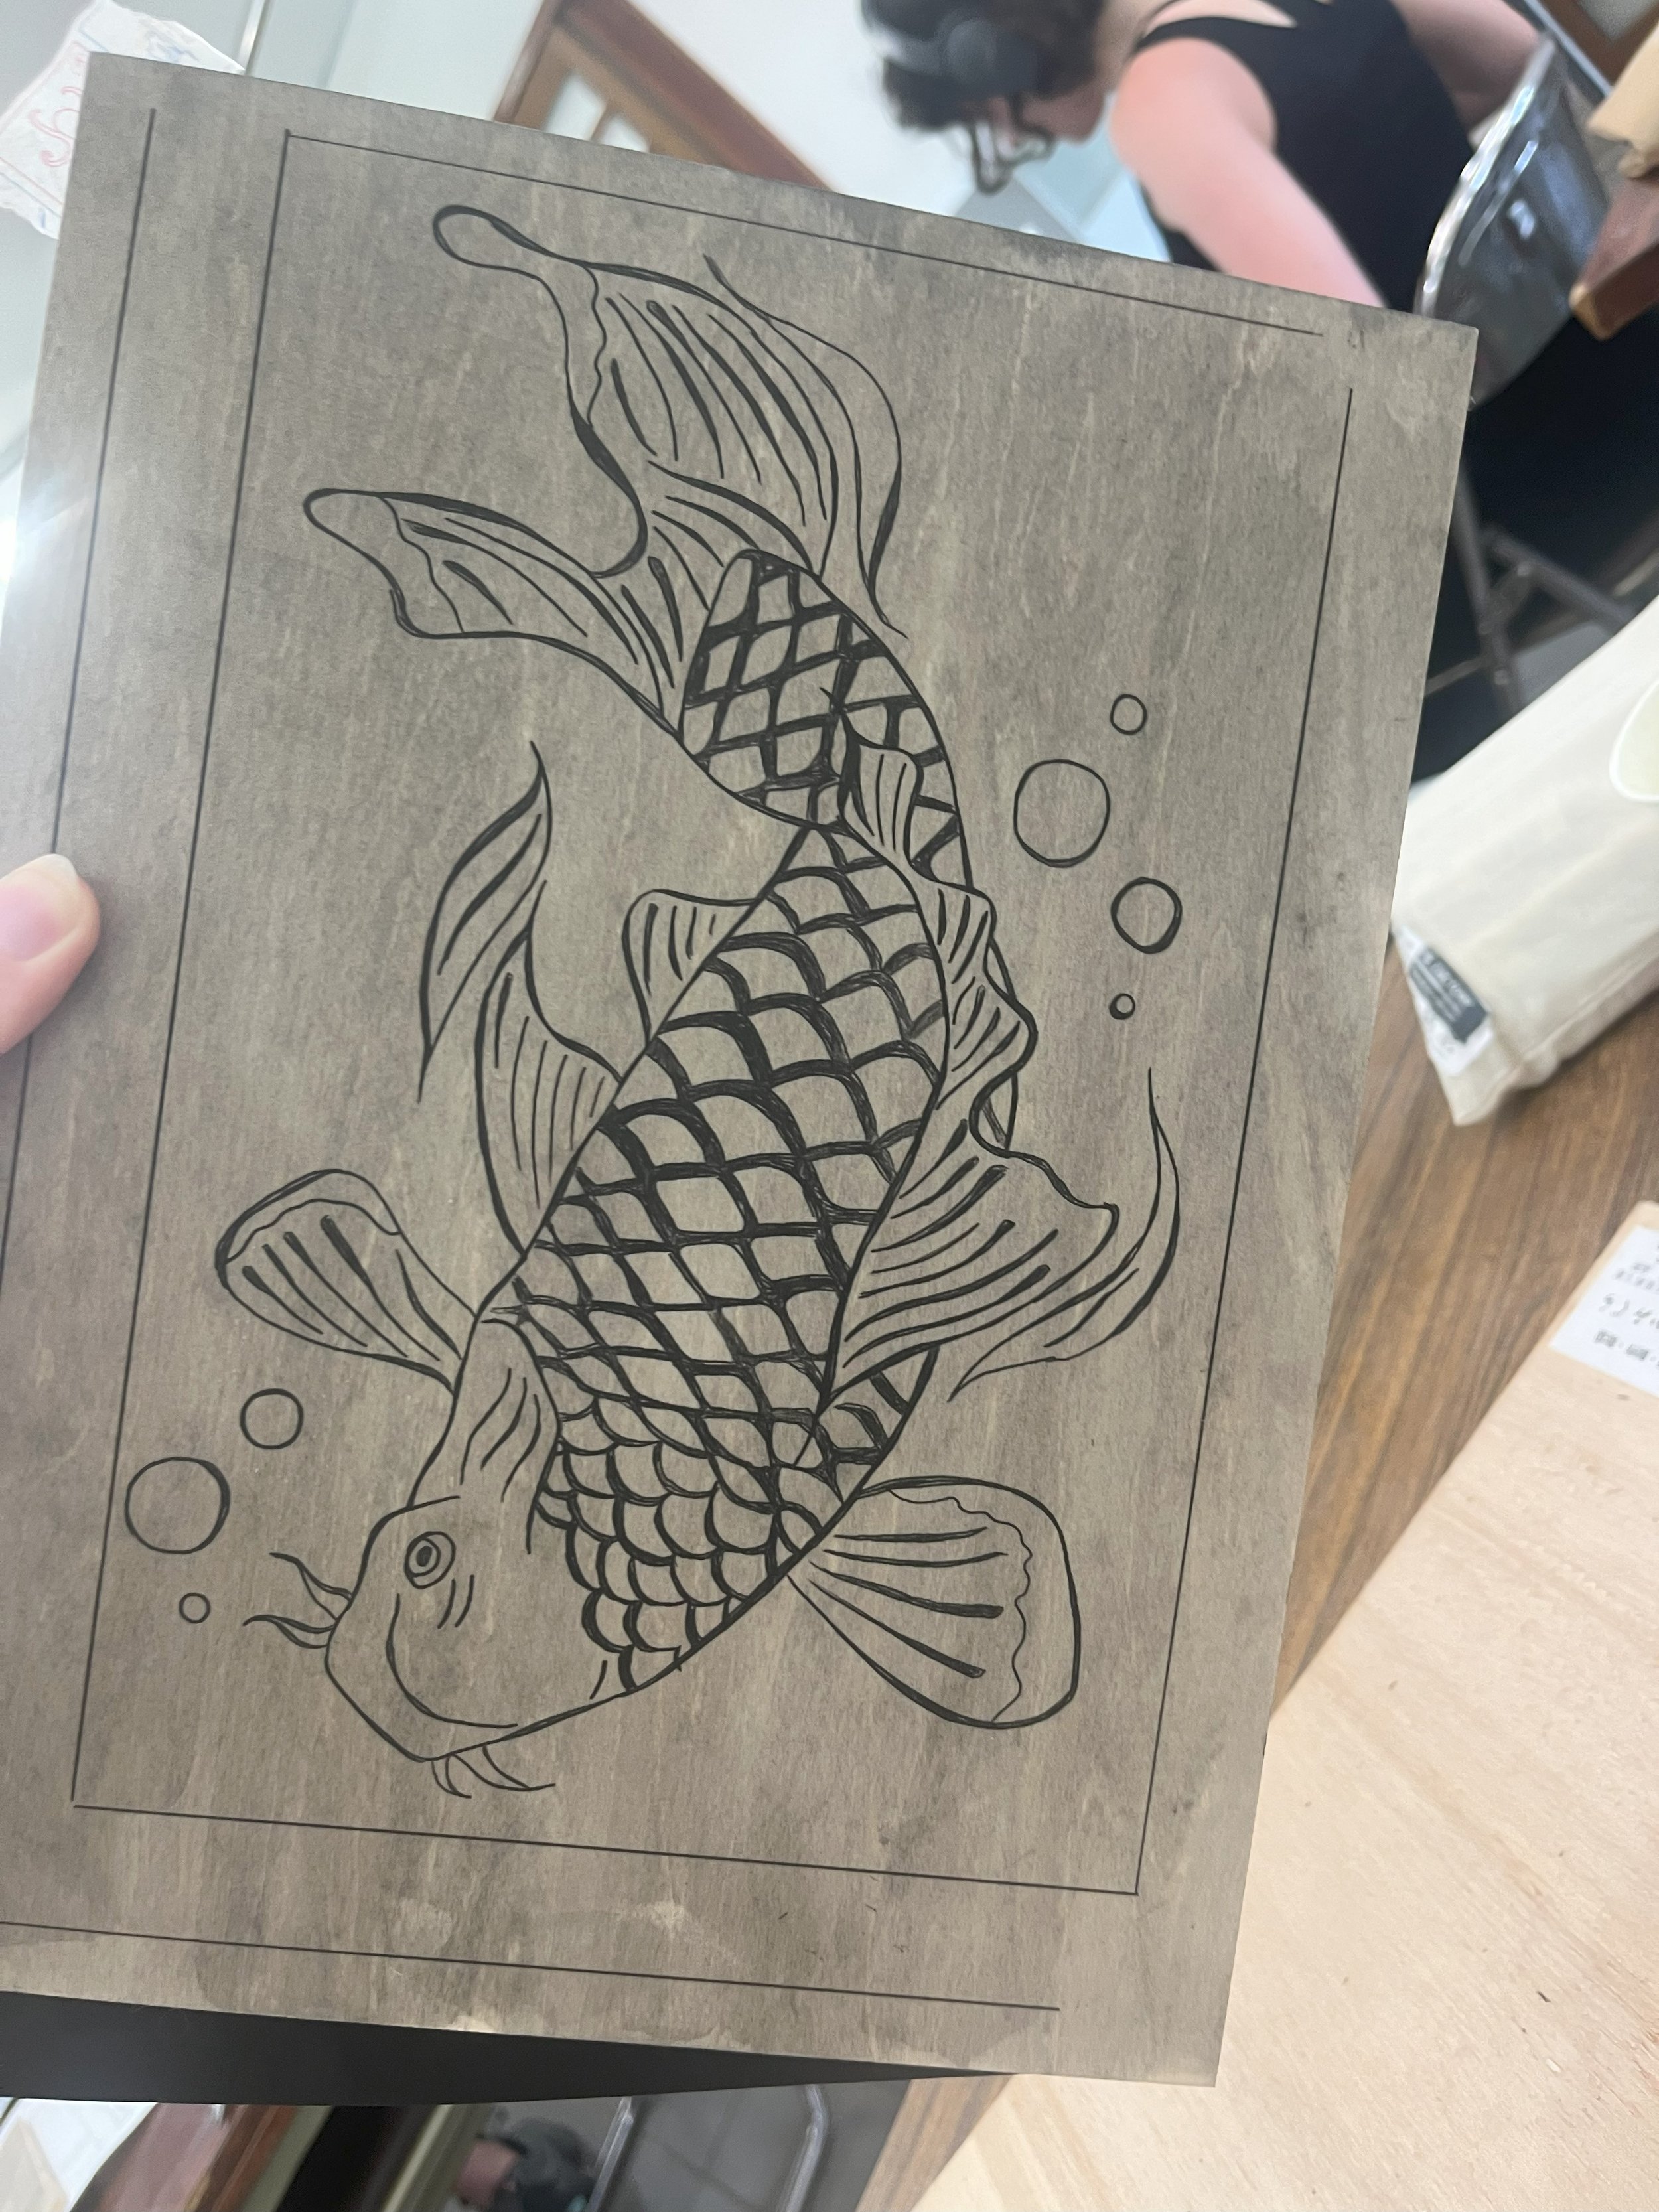
My finalised fish sketch- I refrained from spending too much time on it to avoid over thinking the design and making it too complicated!
We then transferred the designs using tracing paper, straight onto the woodblocks. Honestly, the result of how the design looked on the woodblock at this point was so unexpectedly good, it could be an artwork itself!
The next part was the woodcarving; quite literally the most satisfying yet tiring part of the process. At first it was rather complicated as I later figured the tools were right-handed making it slightly awkward for me to adjust to, though it was quite nice smoothly cutting the wood along the details. It only got progressively worse after doing this three consecutive days in a row; where I was growing fatigued of the process and just wanted to move straight onto printing! I was also quite accident prone and kept slipping with the tools, something which kept happening after I grew complacent of the process whilst continuing for hours at a time. (Don’t do what I did, it’s not fun being cut!).
Halfway through carving out the woodblocks!
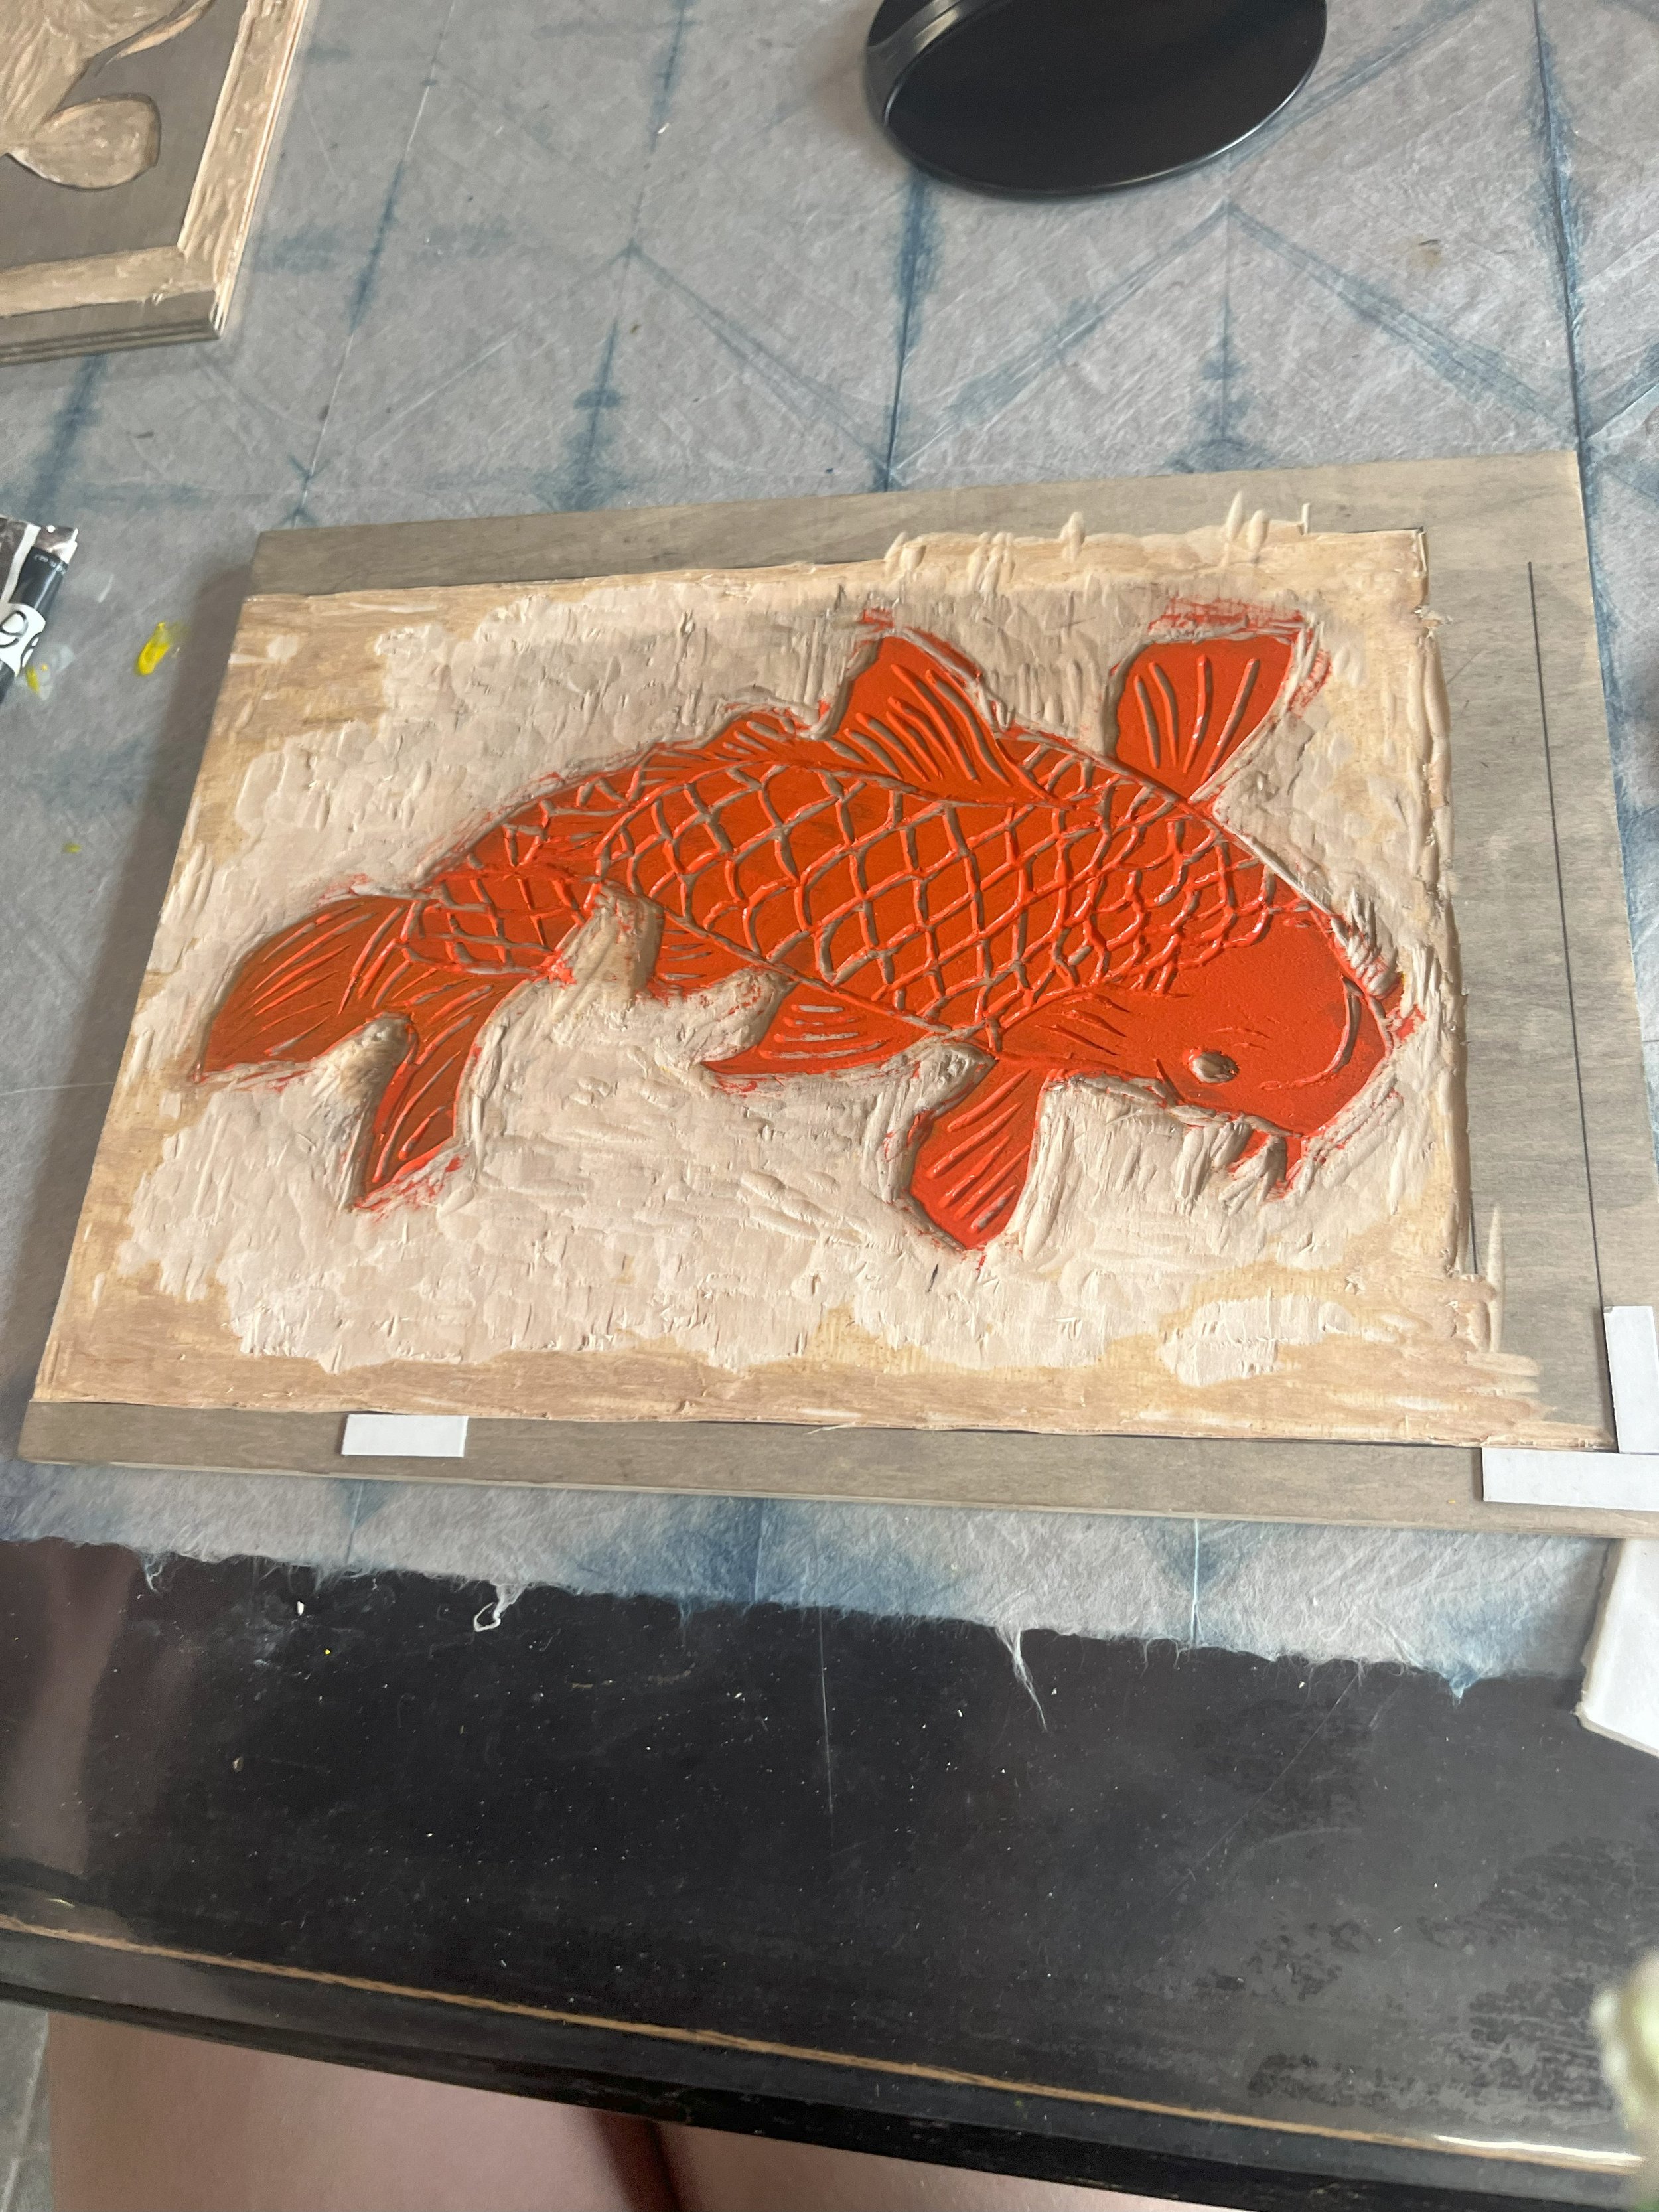
It was all worth it in the end when I got to finally print the final design, making all the effort and labour worth it! I used three colours, which meant for each print to be printed three times in each colour. The good thing about this part was that mistakes in the printing process could easily be fixed- as if it was a dodgy printing job due to the lack of paint or pressure, you could always just go over it. Mr Kono helped me out with the printing process- his enthusiasm and joy when he would see the final result was such a great feeling!
Applying the paint to one of my woodblocks!
Here is the reveal for one of my prints- Mr Kono was ready with his camera!
All three of my final prints lined up!
I was honestly super impressed with how my final works turned out! As someone with very little printmaking experience, I was really surprised with how clean and opaque the prints were. This experience was absolutely phenomenal, mainly due to the guidance we were given as well as the attention to detail to ensure our works turn out beautifully. I am forever grateful that I leave this experience with another technical skill that I can apply to my practice, and enable myself to expand beyond my usual major to create an impressive body of work!


